The general goal of an HTPC is usually to combine many or all components of a home theater set-up into a single machine that will be located where the home entertainment system is desired. An HTPC system is typically controlled with a remote control for controlling the main interface although you can always use just a keyboard and mouse to control the PC.
There are basically 2 types of HTPCs. One is a dedicated and usually expensive stand alone and proprietary complete Media Center PCs manufactured by companies such as Apple (Apple TV), HP, Dell and Gateway and the other is basically any regular IBM compatible PC fitted with an open source or proprietary media player software such as XBMC, MythTV, Boxee and GeexboX.
If you have an old, unused PC lying around your house, you can basically build yourself a budget, open-sourced, Linux-based HTPC of your own with minimum budget. Just install any one of the popular Linux-based media player OS such as XBMC, Mythbuntu or GeexboX on that PC, hooked it up to your TV via a VGA cable and you're ready to watch most types of video formats on your PC. If you'd like to record video from your TV, just install a video capture card on your PC and it will record them straight to the hard drive. Below are 3 of the popular Linux-based media player OS that I've tried and used at home.
XBMC
 XBMC is an award-winning free and open source software media player and entertainment hub for digital media. Originally created for the Xbox, XBMC is now available for install on Linux, Mac OSX and also Windows. And if you can also load XBMC from a live CD without installing any files to your PC.
 While XBMC functions very well as a standard media player application for your computer, it has been designed to be the perfect companion for your HTPC. Supporting an almost endless range of remote controls, and combined with its beautiful interface and powerful skinning engine, XBMC feels very natural to use from the couch and is the ideal solution for your home theater.
 Currently XBMC can be used to play almost all popular audio and video formats around. It was designed for network playback, so you can stream your multimedia from anywhere in the house or directly from the internet using practically any protocol available.
 XBMC can play CDs and DVDs directly from the disk or image file, almost all popular archive formats from your hard drive, and even files inside ZIP and RAR archives. It will even scan all of your media and automatically create a personalized library complete with box covers, descriptions, and fanart. There are playlist and slideshow functions, a weather forecast feature and many audio visualizations. Once installed, your computer will become a fully functional multimedia jukebox.
XBMC is by far the most complete and popular open-source media center that I've found so far. However, the minimum hardware requirement for XBMC is quite high compared to the other HTPCs that I've tried. Recommended hardware to install XBMC is Pentium IV processor with 512MB of RAM.
Mythbuntu
 Mythbuntu is a flavour of MythTV media player software specially created for Ubuntu Linux. It can be used to prepare a standalone system or for integration with an existing MythTV network. MythTV itself is a hugely popular media player software comparable to Microsoft's Windows Media Center, Apple's Front Row, Boxee and also XBMC.
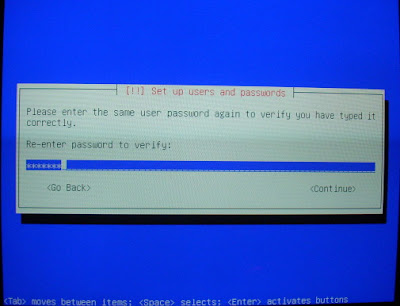
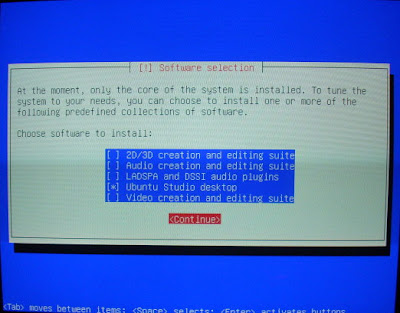
 Mythbuntu uses the XFCE4 desktop. All unnecessary standard Ubuntu applications such as OpenOffice, Evolution, and a full Gnome desktop are not installed in a default Mythbuntu install. If at any time a user wants to, they can install ubuntu-desktop, kubuntu-desktop, or xubuntu-desktop and add a full desktop onto their installation. This can easily be done via the Mythbuntu Control Centre.
 Like XBMC, Mythbuntu can play virtually any type of video and audio file formats, stream from a network location and connect to online based TV service such as Hulu and Netflix. The minimum requirement for Mythbuntu is similar to XBMC which is any Pentium IV or similar processor and 512MB RAM.
 The installation process is a little bit complicated for the average user. There's the frontend and backend server and I still can't get my Mythbuntu installation to play my video files from a network location. Still, if you have time and patience to tinker around with XFCE and command lines then maybe Mythbuntu is the perfect solution for your HTPC.
GeexboX
GeeXboX is really small but powerful Linux-based standalone media player. It can play all kinds of video and audio formats including MPEG1, MPEG2 and MPEG4 movies, DivX, XviD, H.264 files, RealMedia and Windows Media movies, OggMedia streams, Matroska streams, audio streams like MP3, Ogg/Vorbis, WAV (AudioCD), AC3, DTS, MusePack, FLAC and many more.
 GeeXboX is a full operating system, running under Linux and based on the excellent MPlayer. No need for a hard drive, you just have to put the GeeXboX bootable CD into the CD-Drive of any Pentium-class or Apple Macintosh computer to boot it.
Geexbox can be run from a Windows, Linux or Macintosh based computer. You can also simply boot from a live CD or USB stick and the program will be copied into your RAM and it everything will run from there, no need to install anything to your hard drive.
 GeexBox is so small that you can even run it from a 400MHz Pentium II processor with 64MB of RAM where the software will only take 16MB of disk space. The installation and settings is really simple and easy to configure too compared to XBMC or Mythbuntu. I'd really recommend GeexboX to everyone especially for the beginners.
 Building your very own HTPC can save you a lot of money and for geeks like me it can be very satisfying indeed. My current HTPC is running GeexboX, build from a 800MHz Pentium III PC with 128MB of RAM which I got literally free from a friend. All I need to buy is a regular VGA cable to hook it up to my LCD TV and I'm all set.


