This is a step by step guide on how to install Ubuntu Studio Edition 8.04 on an Intel i386 PC, dual boot with Windows XP. This tutorial is also applicable for Ubuntu & Kubuntu 8.04.
Minimum PC specs for Ubuntu Studio Edition installation: Intel Pentium III 800Mhz and above, 512MB RAM, DVD-Rom drive.
First download and burn the Ubuntu Studio Edition DVD image (iso file) from here. For Ubuntu 8.04 Hardy Heron installation, get the alternate CD image.
Tip: If you have an empty hard drive, install Windows first before installing Ubuntu. During the Windows installation, reserve at least one sizable partition (at least 5GB) for your Ubuntu partition and another small partition (at least 500MB) for the swap area.
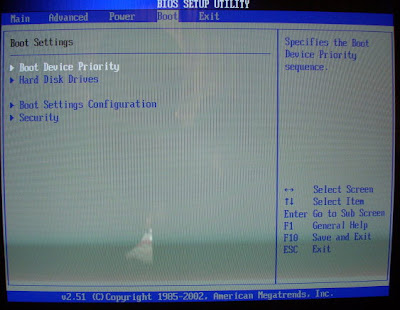 Next you need to configure your PC to boot from the DVD drive.
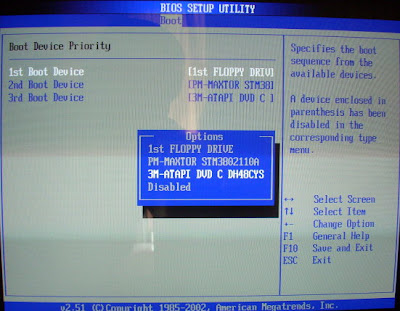 Enter the BIOS Setup on your PC and set the DVD drive as the 1st boot device.
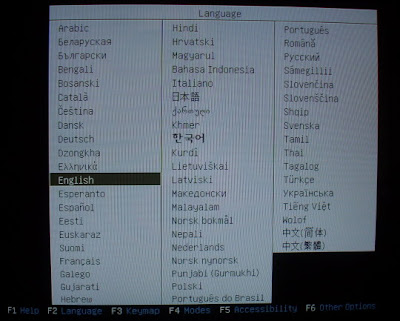 Your PC will now boot from the DVD drive. Choose a language.
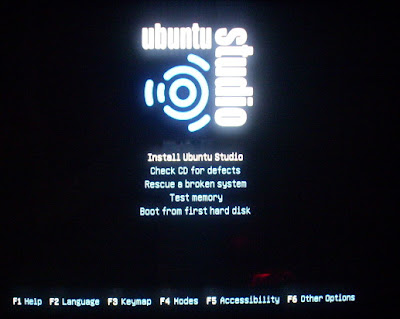 Now you may select Install Ubuntu Studio or you may want to Check the CD for defects first. Defective CDs will affect your installation process.
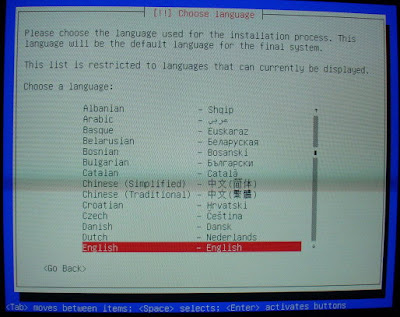 Next choose a suitable installation language.
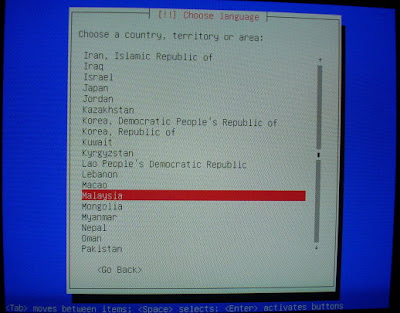 Then choose the country you are currently residing. This will affect the system's time zone.
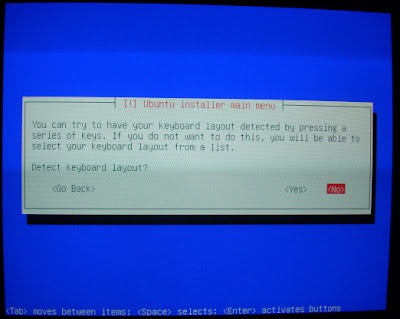 The installer will ask whether you want to detect the keyboard layout.
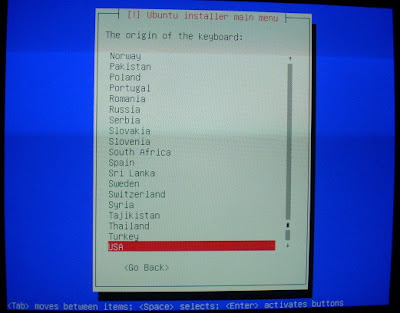 Normally I don't want Ubuntu to detect the keyboard for me because this process will take an unnecessarily long time. Besides, most of the keyboards in my country uses the USA layout.
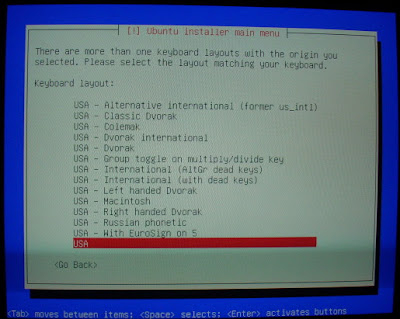 Since I already knew my keyboard uses the USA layout, I just choose the appropriate country.
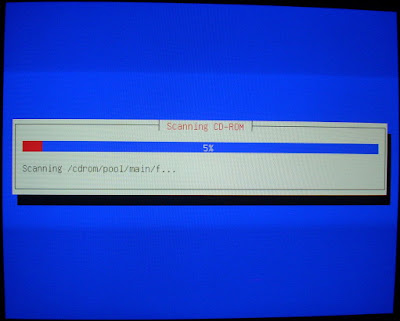 Wait for a moment while the installer scans the cd...
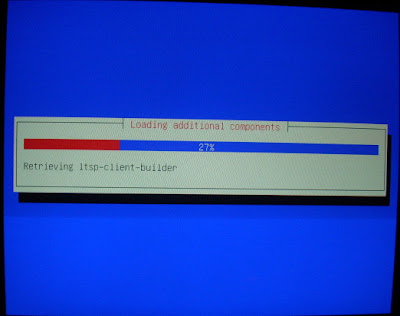 ... and initialize the installation process.
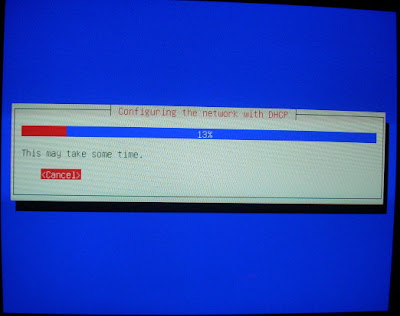 The installer will now attempt to automatically configure your network setting. Usually I would skip this process by selecting Cancel.
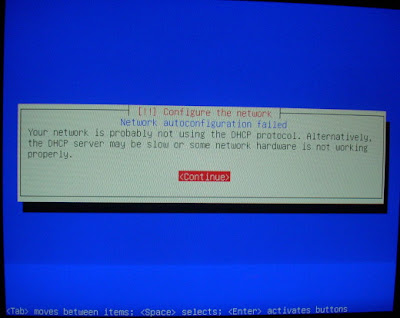 This is because if you're PC is connected to the Internet, the installer will attempt to download the latest update from various Ubuntu repositories which could take hours to finish.
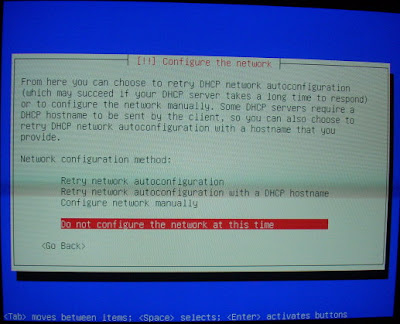 Even if you're not connected to the Internet, the installer will attempt to download updates from the Ubuntu servers anyway when your network is configured. Therefore I recommend you unplug the network cable and choose Do not configure the network at this time. You can easily reconfigure your network setting later on.
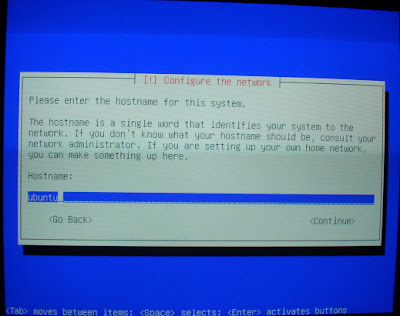 Enter a hostname for your Ubuntu system. This is similar to putting a name for your PC in Windows.
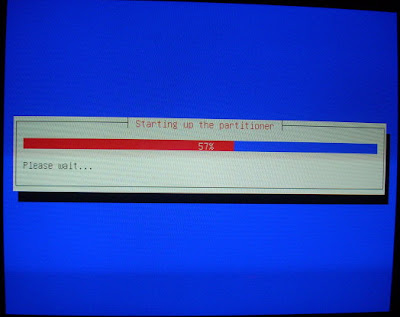 The installer will now start the partitioning process.
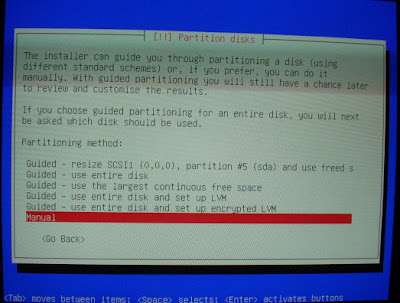 The partioner is a bit tricky for novice users but with the right guide, partioning your hard diks(s) should be a breeze. If you plan to use Ubuntu alone on your PC you might want to use the Guided method. Else if you already got Windows installed on your PC, use the Manual method.
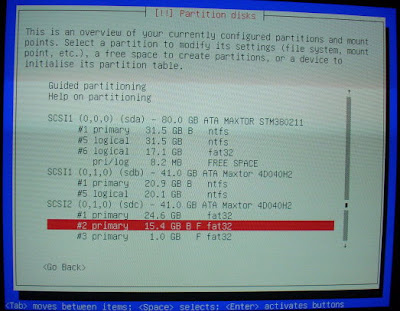 As for me, I have 3 hard disks installed on my PC with 8 seperate partitions. Like I said earlier, you should reserve a partition during Windows installation or you can install Ubuntu on a second hard disk altogether. In this example, I choose the 2nd partition on my 3rd hard disk (15.4G in size) as my Ubuntu partition. The 3rd partition will be used as the swap area. With the 15.4G partition selected, press enter. Be careful not to select your Windows directory partition.
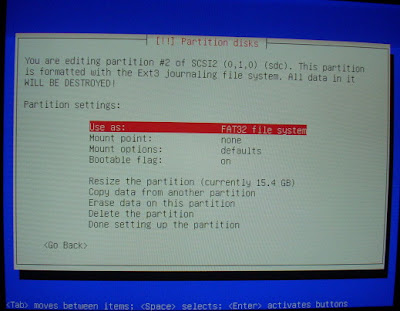 This partition is currently formatted as FAT32 and you have to change it to a Linux file system before you can install Ubuntu on it. Select Use as: and press enter.
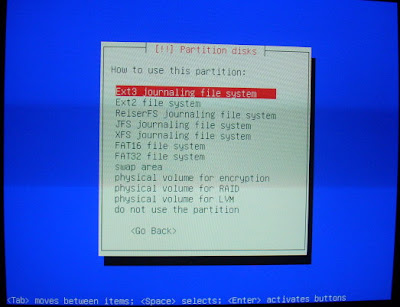 Ubuntu supports several Linux file systems but the most common types are Ext3 and Ext2. I would normally choose Ext3 as my Linux file system. Select a file system and press enter.
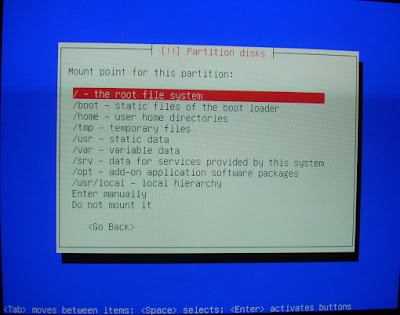 Next the installer will ask you to set the mount point for this system. The mount point is where the directory where the systems mounts all your hard disk partitions. Choose the root file system and press enter.
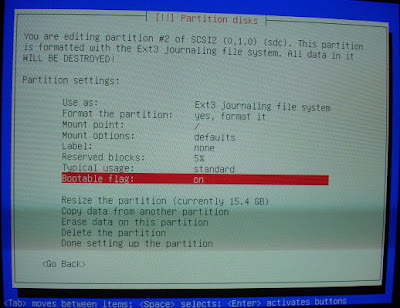 Still on the Ubuntu partition, remember to set the Bootable flag as on.
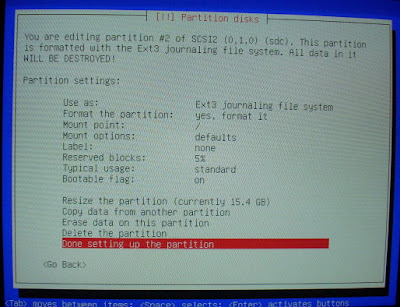 Finally you're finished with setting up the Ubuntu partition. Now you will have to create the swap partition for your Linux system.
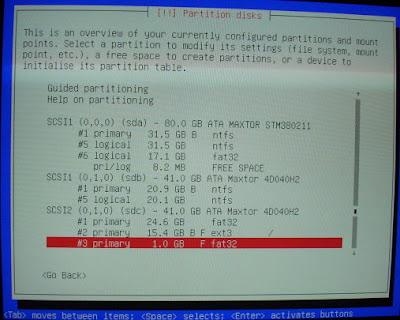 Here I use the 3rd partition on my 3rd hard disk (1GB in size) as the swap area. Swap is basically the same as Virtual Memory in Windows but instead of paging files to the hard disk during operation, Linux systems like Ubuntu will use a dedicated partition (swap area) as Virtual Memory. It is possible not to use the swap area in Linux especially if your RAM capacity is huge (1G and above) but it is highly recommended that you create one anyway. This is because when somehow your system ran out of memory and you don't have a swap area, your Linux system might just crash. With the 1GB partiton selected, press enter.
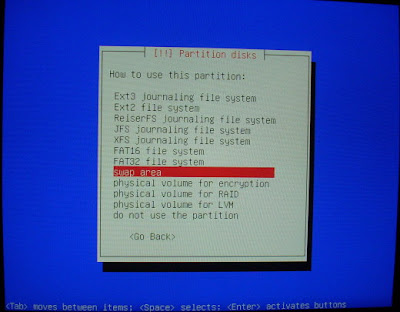 Choose use this partition as swap area. As a rule of thumb, your swap area should be at least twice the size of your physical memory (RAM size) but not more than 1G. Anything larger than that will slow down your system instead.
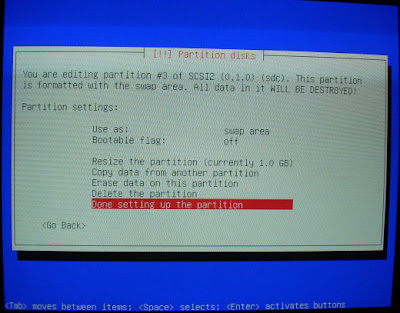 Now your finished setting up the swap area. No need to change the bootable flag (leave it as off).
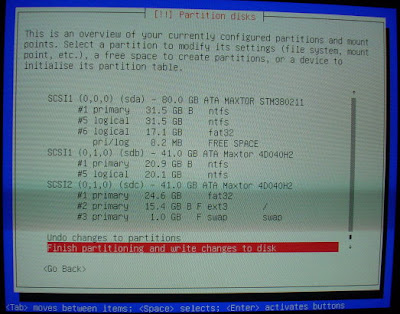 To finalize setting up all your Linux partitons (Ext3 and swap area) choose Finish partitioning and write changes to disk.
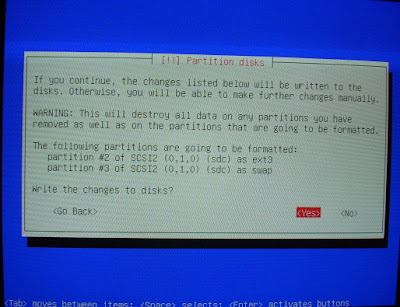 At the confirmation page, select Yes to write the changes to disks.
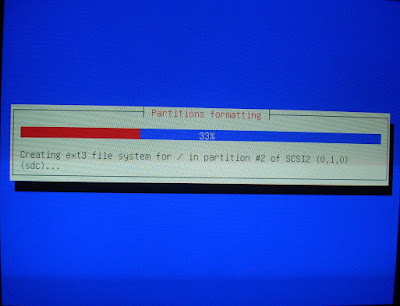 The installer will now format your Linux partitions (root and swap area) to their respective file systems. The important point here is you must format one partition to Ext3 format and another partition as a swap area. Remember to set the mount point to root (/) and set the bootable flag to On.
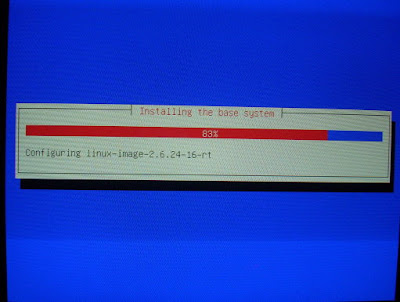 Ubuntu will now install the base system on your hard disk. This will take some time.
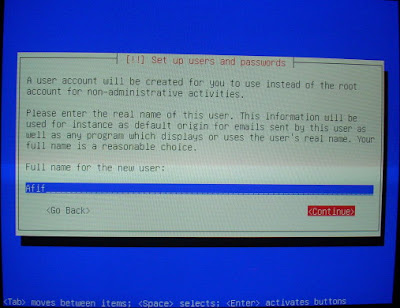 After that enter your real name. This information will be use as default name in your e-mail or office applications.
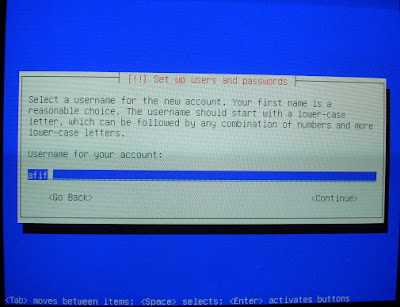 Now enter a username for your account.
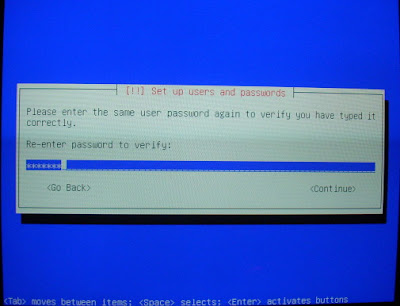 And enter the password twice.
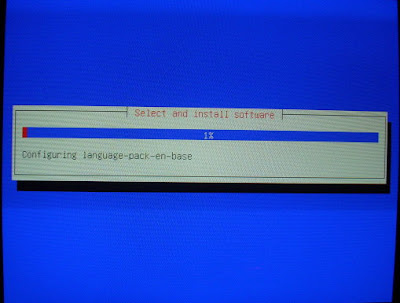 The installer will then install all the default software for your Ubuntu system. You can always add or remove any software later on using the Synaptic Package Manager.
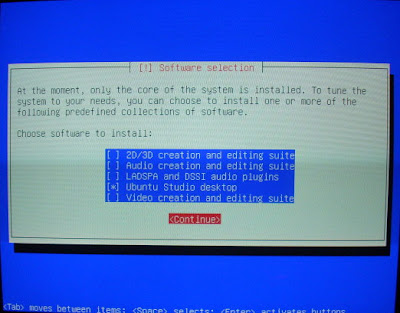 For Ubuntu Studio Edition, you can choose from a predefined collections of software from graphical editing suite to audio-video creation suite. Press the Tab key to move between items and press Space to select a particular suite. In the example above, I only select the basic Ubuntu Studio desktop suite because I have no need for the other suites. This menu is the only difference between Ubuntu Studio Edition and the other regular Ubuntu edition installation.
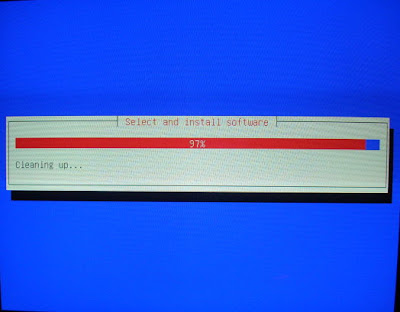 The installer will then resume all the remaining software installation.
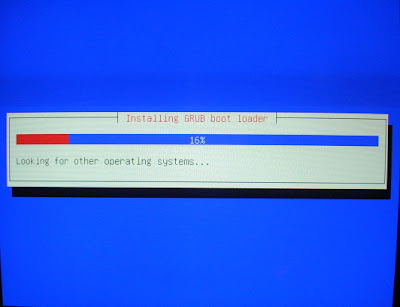 Next the installer will look for other operating systems (i.e Windows) before installing the GRUB (GRand Unified Bootloader).
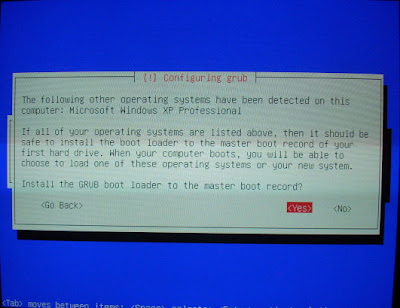 The GRUB boot loader will detect any other operating system in your hard drive and list them in the boot loader screen when you boot up your PC. This way you can choose whether to boot into Ubuntu or Windows during start up.
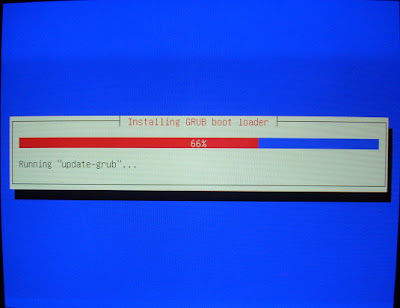 The GRUB boot loader will be installed to the master boot record.
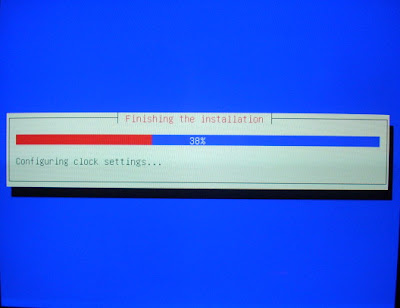 Wait for a moment while Ubuntu finishes the installation process.
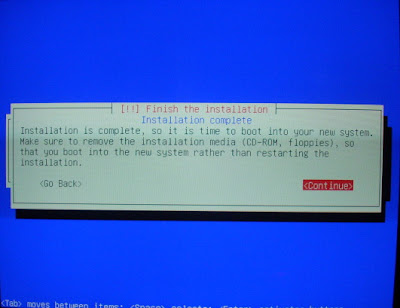 Installation is now complete (yay!). Remove the DVD-Rom from the drive and select Continue to restart.
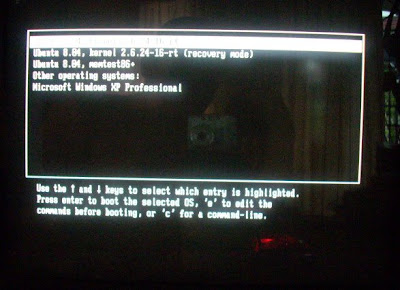 This is the GRUB boot loader screen that I mentioned before. Choose to boot into Ubuntu or Windows.
 The Ubuntu Studio Edition start up screen.
 Ubuntu Studio Edition login screen.
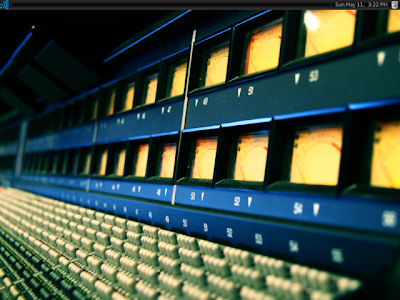 Ubuntu Studio Edition desktop screenshot. Just one panel for the 8.04 version. Unlike regular Ubuntu editions, Ubuntu Studio Edition uses a black and blue theme.
No comments:
Post a Comment