For IT savvy people, the installation is pretty straightforward. Just plug in the device and follow directions from the manual. For the rest of us, here's how.
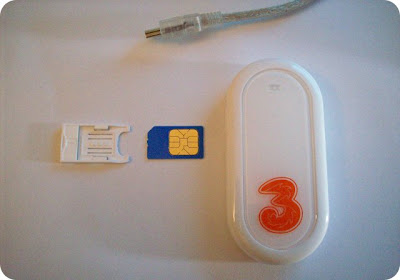 The modem comes with 2 USB cables, one short and the other long. The long one has 2 USB interfaces, one used for data and power and the other optionally only for assistance power in case the computer is not able to provide the full 500 mA power needed to operate it. Use the long one for your first time installation. Insert the SIM card provided by your wireless broadband provider into the tray (on the left side of the modem). You can't go wrong with this one because if you do, it will not fit in. Also make sure your ISP have activated your Internet account.
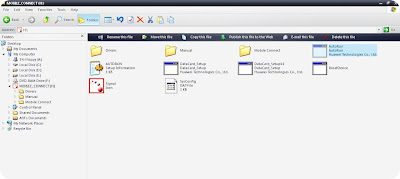 Plug in the USB cable into your computer. For Windows user, the modem will normally installs itself along with the default Huawei Mobile Connect software. If it doesn't, click on the My Computer icon on your desktop and look for the MOBILE_CONNECT drive on the right hand pane. Look for the AutoRun.exe icon and double click to install the software. Follow the simple on screen instruction to install the software. If your PC is ancient like mine, the modem might some fails to automatically install when you plug in the USB cable. If that happens, try a different USB port.
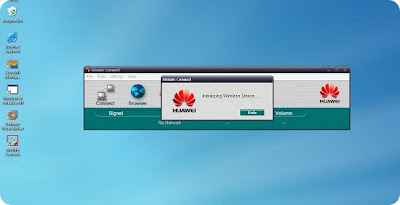 After the installation is finished, click the Mobile Connect icon your desktop. The modem should be initialized and if everything goes on right you will see this screen below with the signal bar and your network provider's name displayed.
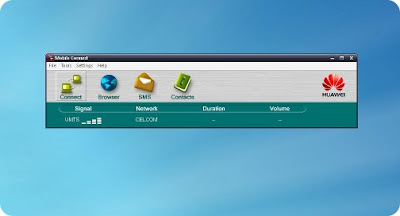 You won't be connected to the Internet until you click the Connect icon. This will usually take a few seconds and you're online when you see this screen below.
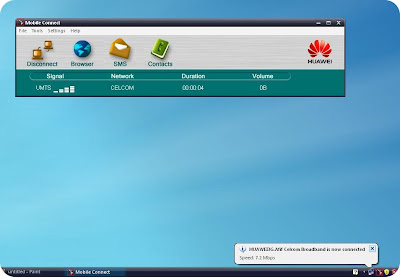
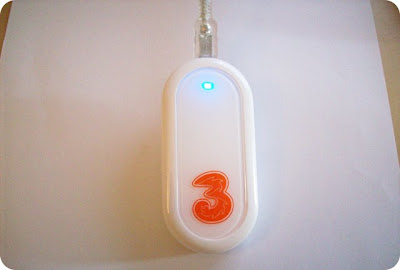 The LED colour on your modem will differ depending on your connection type. Cyan (light blue) means HSDPA, the fastest connection available. Blue is for 3G, slightly slower but good nonetheless. Green is for low speed GPRS connection.
 For Ubuntu Linux users like me, the installation process is very much automated. Just plug in the USB modem and everything will be installed automatically. This is true for Ubuntu 8.10 Intrepid Ibex. I haven't test it on other distros yet.
Last time a 3G modem cost about 1.5k. Now it's 399, really cheap. Time to switch to wireless. :)
ReplyDeletefor ubuntu i have to disable the broadband password using windows first then type maxisbb at the APN form (using network manager 0.7.0)
ReplyDelete